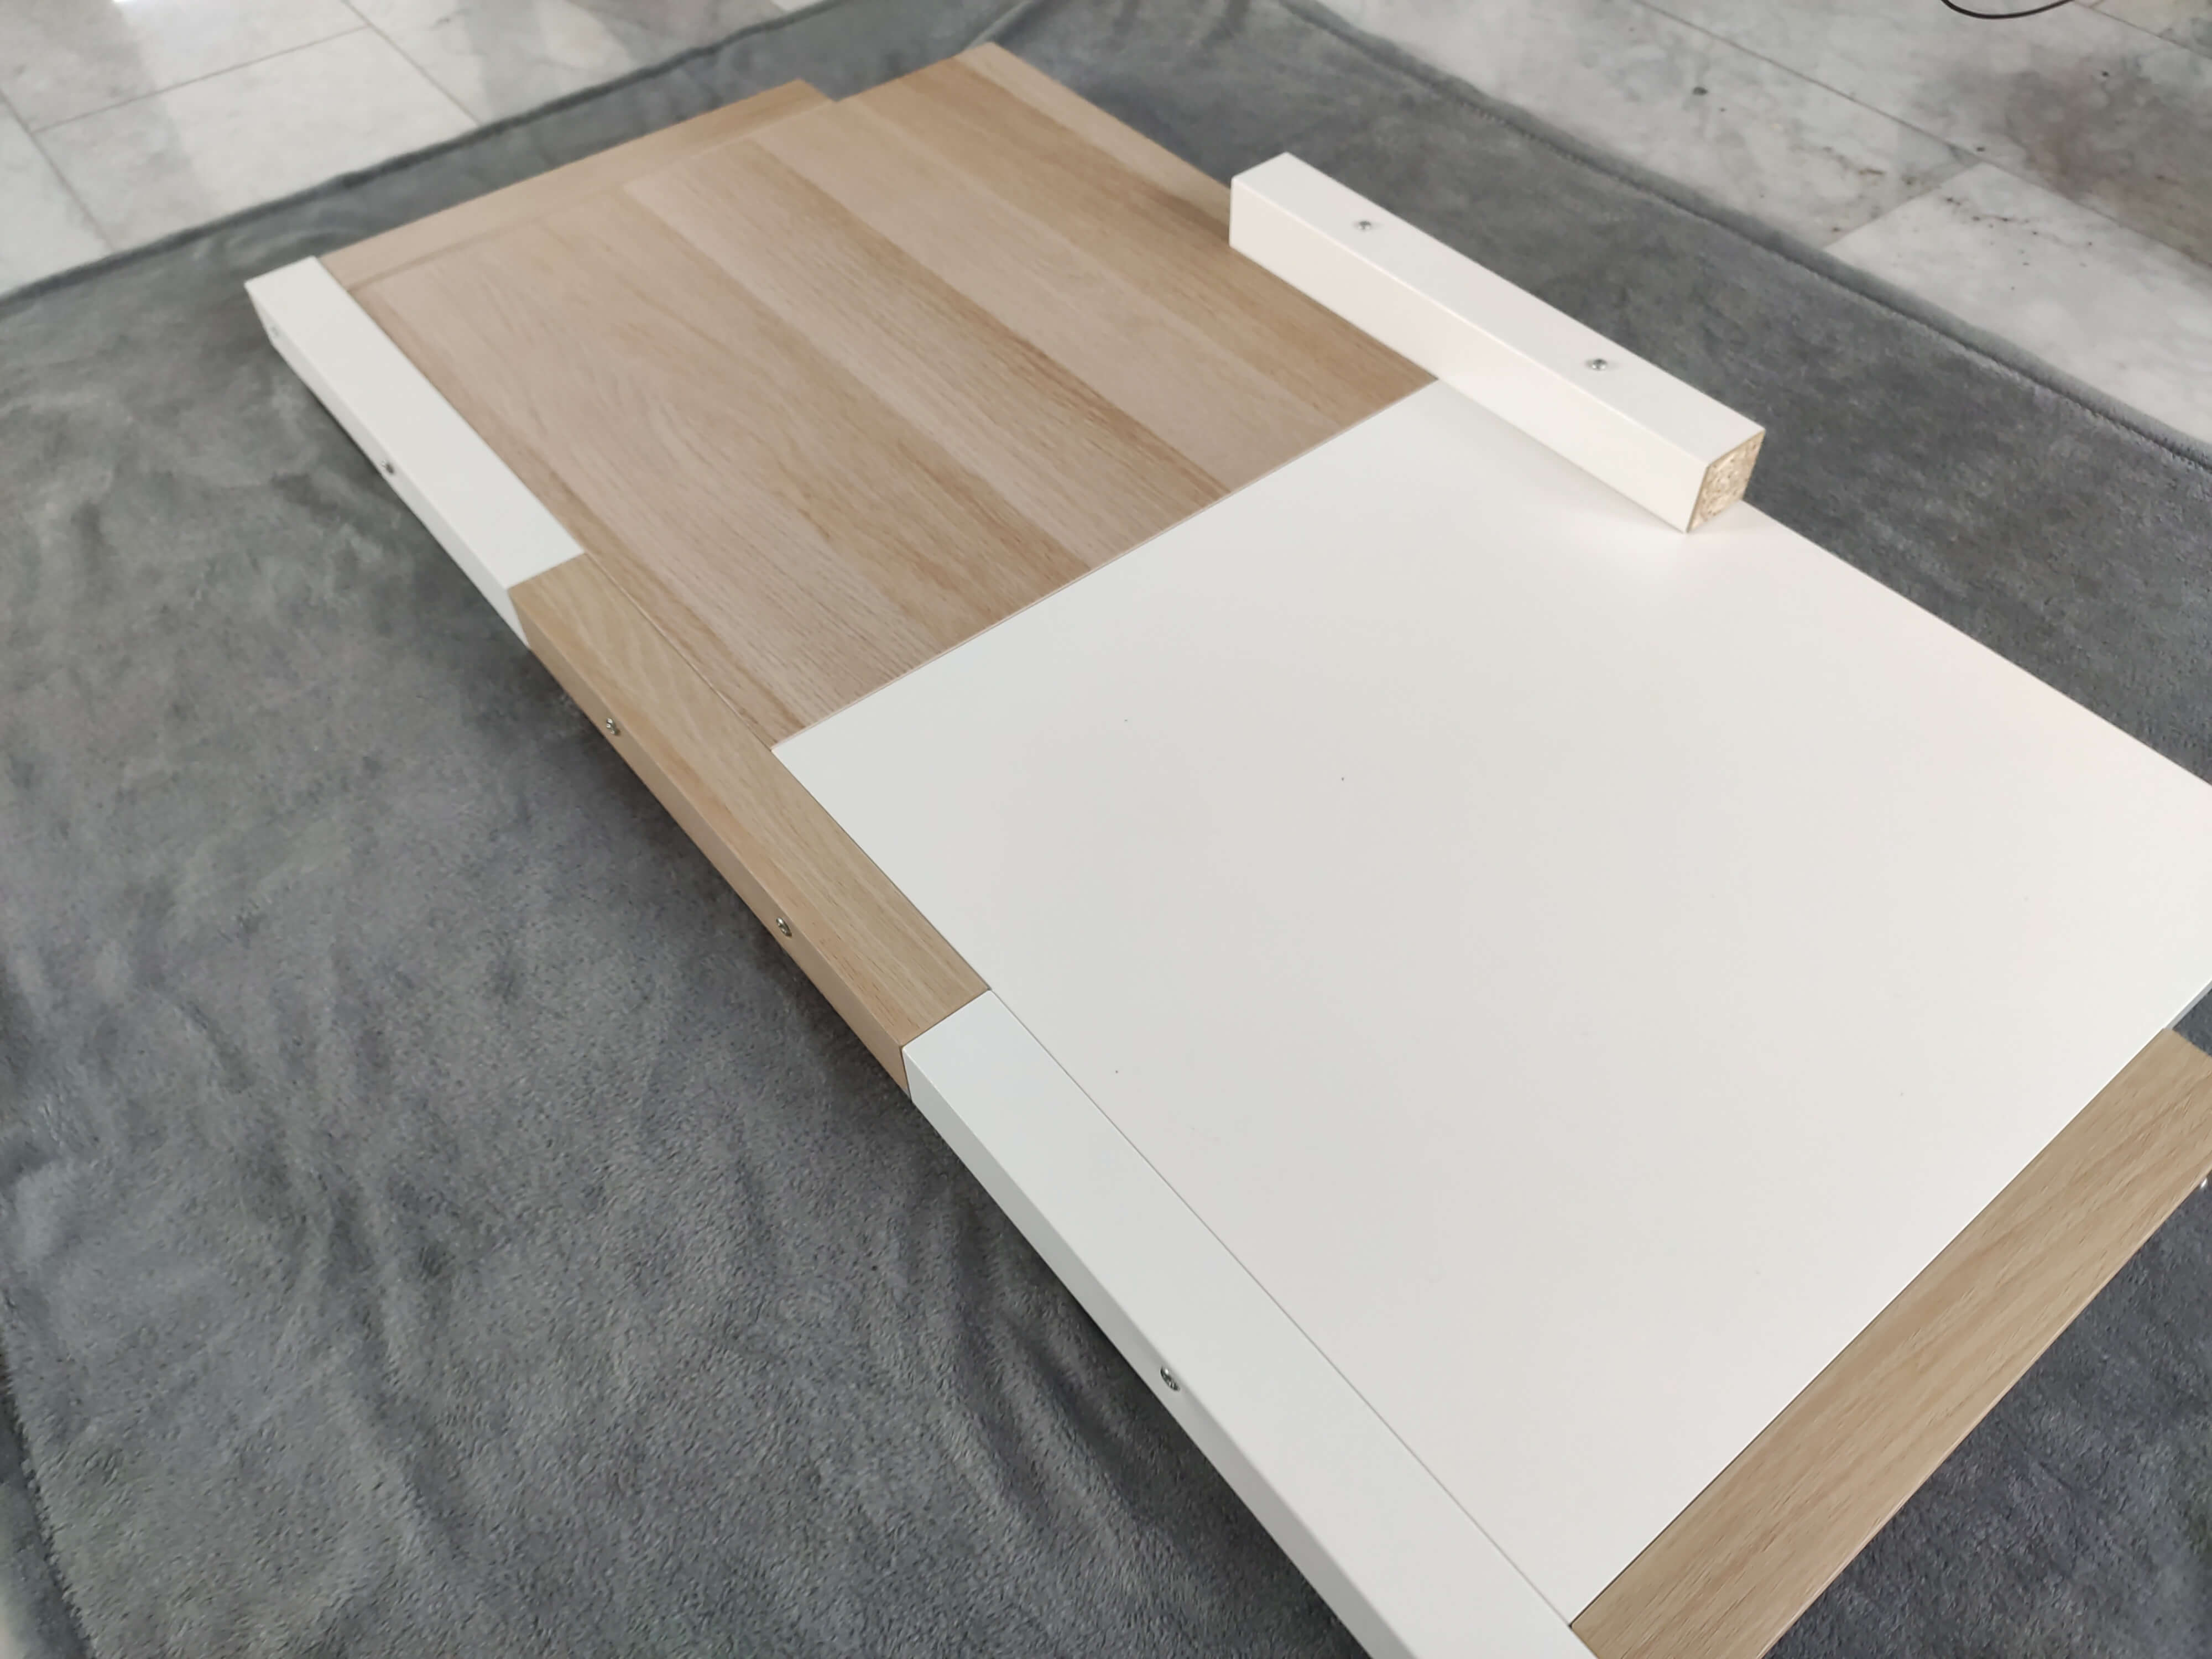
This article shows how to build a wooden 'woody-white' wall board using IKEA LACK tables, that is stylish and inexpensive all at once.
A couple of month ago I incidentally stumbled across a youtube tutorial of a do-it-yourself genius creating a LED shelf clock nailed on a wooden base. I was so fascinated by what the person was doing, and his tutorial was detailed and well-structured both, that I decided to build one myself. The obstacle I had to hurdle was, that I had no wooden plate that was large enough to hold the 1,12 m shelf clock, and I had no car to buy and transport a suitable one in a do-it-yourself store, and I did not want to pay large shipping costs just to buy a simple wooden board.
Finding the right material
So I knew I needed to keep a lookout for a wooden plate, that was affordable, lightweight and easy-to-transport. And why not combine two smaller plates to create a larger one? I thought about using a combination of IKEA LACK tables, but to build a board with a minimum length of 1,12 m, and with a default length of 55 cm of a single IKEA LACK table, I was missing 2 cm of length.
The dimensions of each table plate (55 x 55 x 5 cm) and its legs (40 x 5 x 5 cm) were perfect to simply stack three of those legs to a length of 120 cm to be the footer of the table union. The footer overlaps the table construct by 5 cm each on the left and right - which is exactly the width of a table leg.
What you need
- 1x IKEA LACK table, oak effect, 55x55x5 cm
- 1x IKEA LACK table, white, 55x55x5 cm
- at least 18x 70mm wood screws (or longer)
- a couple of felt pads to soften the boards back
Optional: Adding a (jute) rope mount
- 250cm (jute) rope
- 4x 52mm ringed screw hooks
Assemble the board
Two have a nice woody-white effect, create a healthy mix of white and oak wooden parts. Start with the angles and screw two table legs together in a right angle. Make sure to align them properly, and that they are levelled appropriately. Put the corner part assembly onto the table plate, and tightened it using at least two screws for each leg.
Keep attention not to put the srews to close to the leg endings, because the chip wood seems to be very tight there - I used a distance of 3 to 4 cm to the endings to ensure that the screws went through and the legs did not get damaged. Do not screw the second corner part to the second table plate yet, because the legs could be a little longer than 40 cm, and you risk having to dissassemble parts to make it fit later.
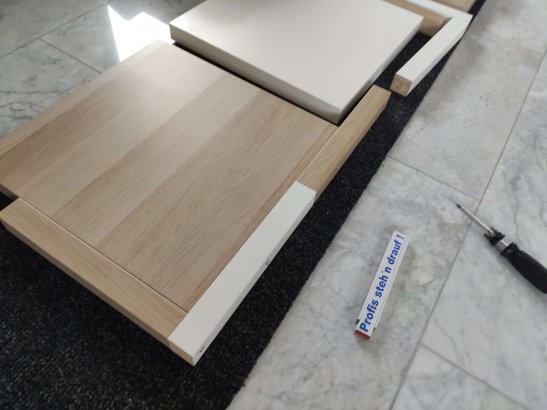
Continue joining the two table boards using another table leg. There should be about 10cm of leg reserved to each plate, where you put in 2 screws each. Next attach the second corner part onto the second table as described above. Mine has a little gap at the end; I don't think you can prevent that from happening without further wood work, because the legs are a little longer than 40 cm. But the result was suitable enough for me ;).
You have used 2 table plates and 5 table legs to combine 2 IKEA LACK tables. But the design is still not sturdy enough to be put on a wall. To accomplish that, you need a further table leg and 4 screws - 2 for the front, and the 2 remaining for the back.
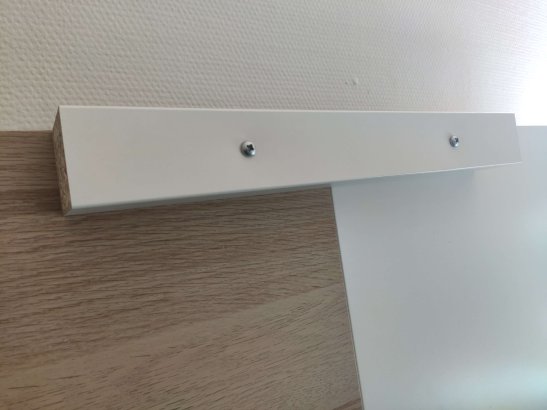
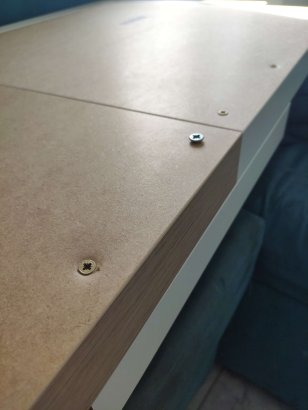
Don't be irritated by the choice of screws shown in the images: I used up what I had left in my stash. You are good to go, if you use screws with a minimum length of 70 mm.
Finally attach some felt pads to protect your wall from damage.
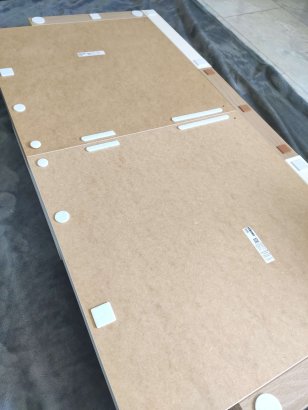
Congratulations! Your woody-white wall board is now complete.
