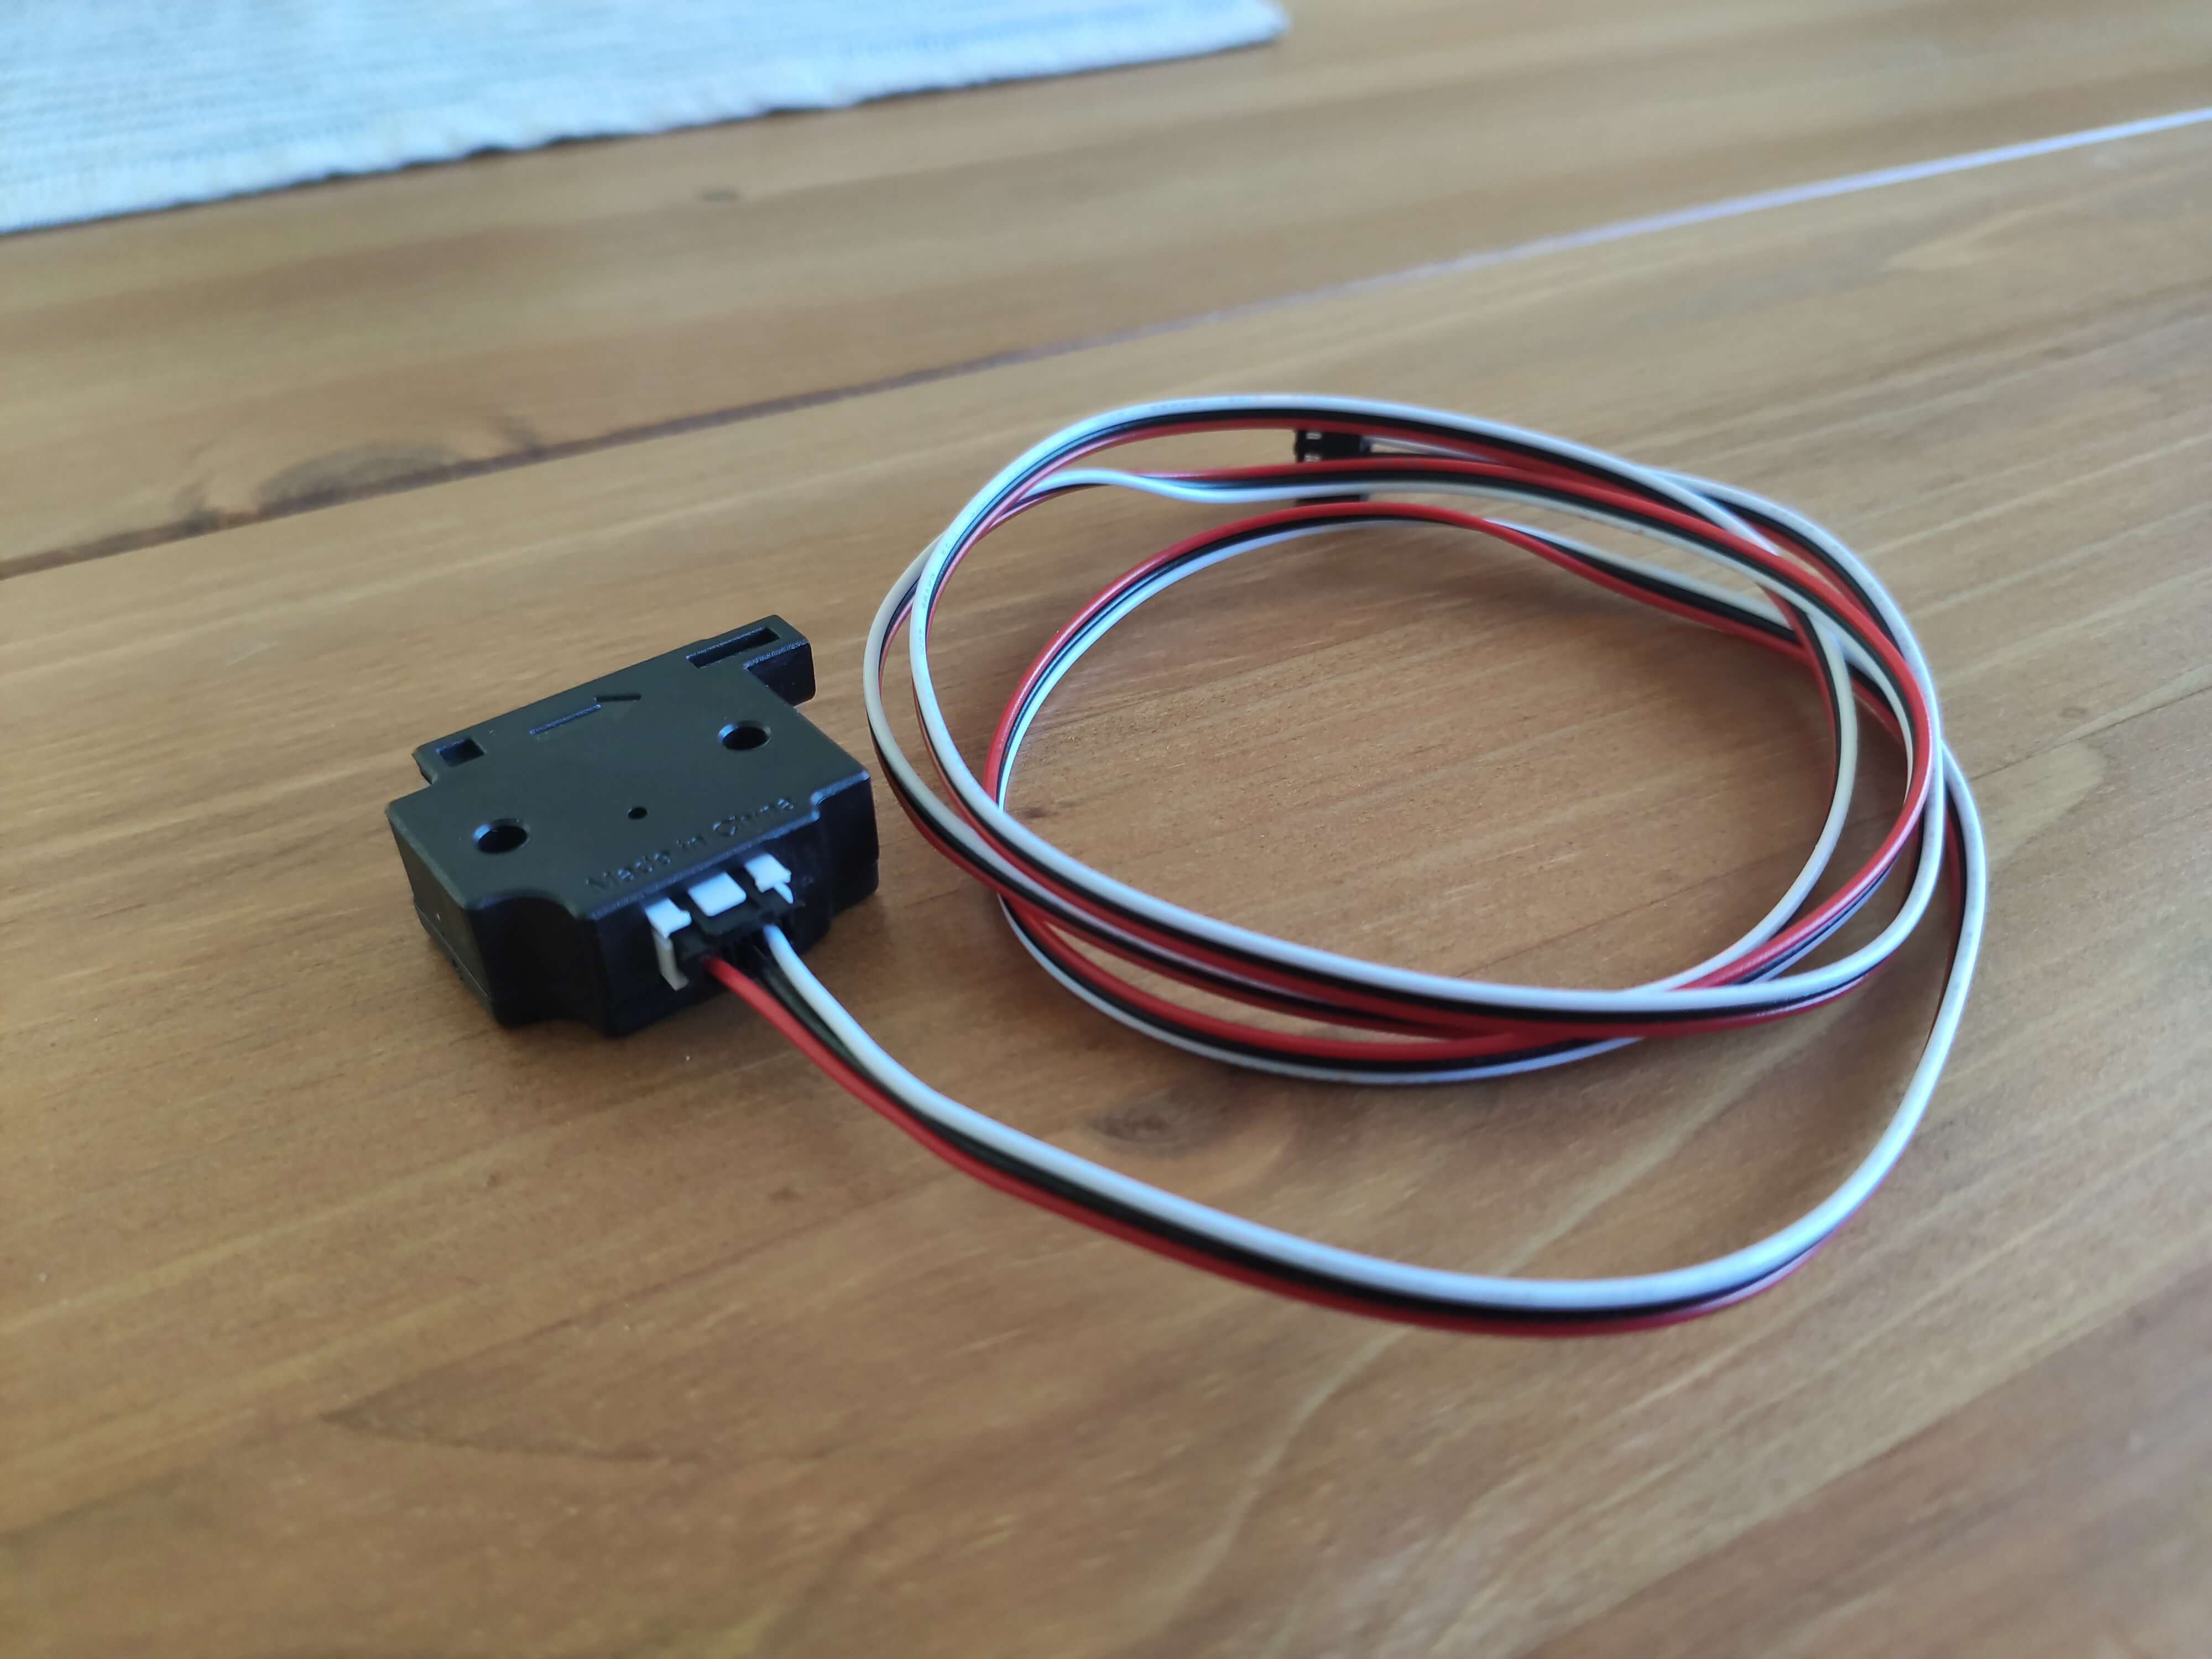
Adding a filament runout sensor to your Ender 3 V2 setup increases the success rate of your 3d prints, and keeps your mid-print models alive, when your filament breaks or runs out.
Due to a lack of storing my filament spools appropriately, I often had issues regarding moist filaments, and it did not help that my filament takes a long way until it reaches the hotend. My prints occasionally started with fragile filament, which resulted in broke and stuck filament after a few layers of printing.
What you need
To reduce those filament troubles, I decided to upgrade my Ender 3 V2 to support filament runout monitoring directly.
And this is what you need:
- a filament runout sensor (EZOut V2 Filament Sensor or similar)
- a 3-pin cable
- a 3d printed filament sensor mount for the Ender 3 V2
- a 608 bearing for the mount roller guide (you could even print one)
Attach the cable to your Ender 3 V2
My Ender 3 V2 setup already included a raspberry pi octoprint server, and I was not fully certain, if I should plug or solder the runout sensor onto the GPIO pins of my raspberry pi, or if it would be the better option to add the runout sensor directly to my printer. I am very happy to have chosen the latter.
No matter which marlin mainboard is part of your Ender 3 V2, there is a free 3-pin port available for your sensor. You gain access to it by unscrewing the top screw and all three bottom screws, which is pretty straightforward.
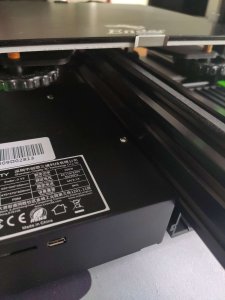
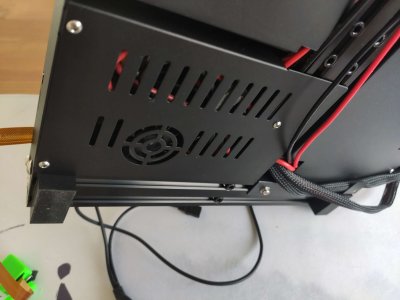
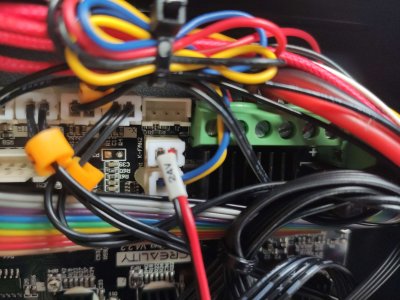
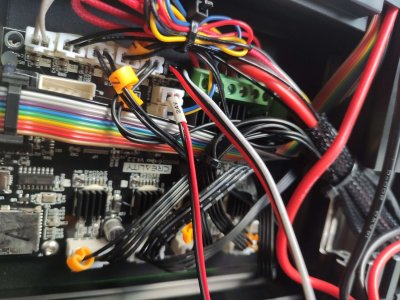
version of your mainboard (probably 4.2.2 or 4.2.7) before rescrewing down your enclosure. This is necessary to know when selecting the appropriate mainboard firmware to be able to use the sensor. In my case the version number is 4.2.2. 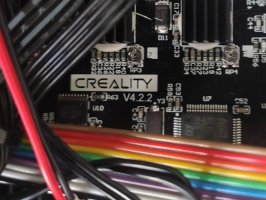
Where to put the wiring
A great solution to align your cable is to put it in parallel direction to where the wiring for your rotary motor goes. There is even a small hole built for this at the top right position above the mainboard.
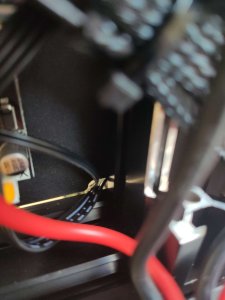
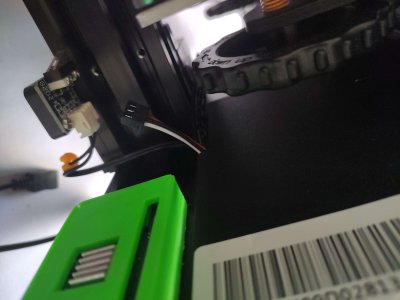
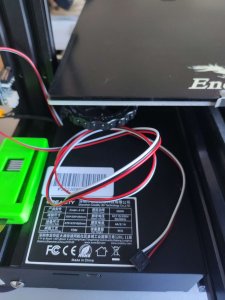
Screw everything back together, and your wiring is complete. Nice!
Upgrading the Ender 3 V2 firmware
By default the Ender 3 V2's firmware does not provide support for the filament runout sensor. Luckily there are a couple of options available to pick a Marlin firmware that suits your 3d printer. I chose the Professional Firmware for the Creality Ender 3 V2/S1 Printers, which provides a great user interface to quickly access often used features as e.g. preheat, cooldown or auto-home; and of course the desired support for a filament runout sensor.
After visiting the release page, there are three firmware options to choose from. If you have a stock Ender 3 V2 without BL Touch, select the MM-MPC firmware, but pay attention to the mainboard version (which you wrote down earlier) - Ender3V2-422-MM-MPC-* for your Marlin 4.2.2 or Ender3V2-427-MM-MPC-* for your Marlin 4.2.7 mainboard.
Extract the downloaded file onto a blank and MBR, fat32 and 4096 allocation unit formatted microSD card, put it into your turned off printer, and turn it on afterwards. The firmware will install successfully in seconds - et voilà - your printer now supports a runout sensor.
Printing the mount
It took me a while to find a suitable mount for this project. By the way, thingiverse.com is a great option to search for user-created 3d designs. It was important to me, that the mount supports a filament roller guide with the help of a 608 bearing to make it easier for the filament to guide through the runout sensor.
Printing the design https://www.thingiverse.com/thing:4880548 is pretty straight forward with these settings using PLA+ filament:
- Resolution: 0.16
- Infill: 0.3
- Hotend temperature: 220° Celsius
- Bed temperature: 75° Celsius
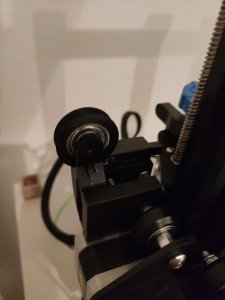
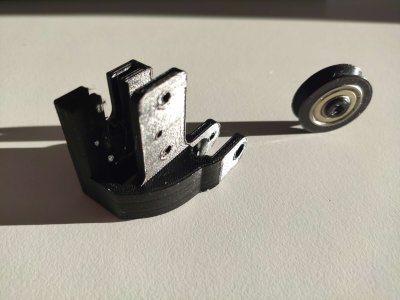
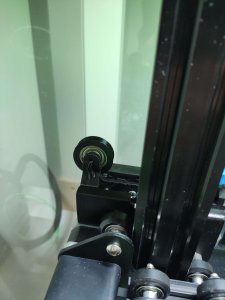
A thingiverse make of my print can be found here.
Final adjustments
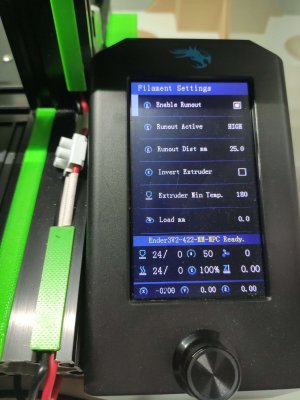
The filament runout sensor is not activated by default, so you have to tweak some settings to actually use it. But don't worry, this is very easy to accomplish, and can be done with the help of the Ender 3 V2 control panel. Simply go to Advanced / Filament Settings and activate the Enable runout checkbox.
This particular EZOut V2 Filament Sensor I've been using for this project needs the Runout active option set to HIGH, otherwise your prints would stop after 25mm of filament use - the default value of the runout distance in mm (Runout dist mm).
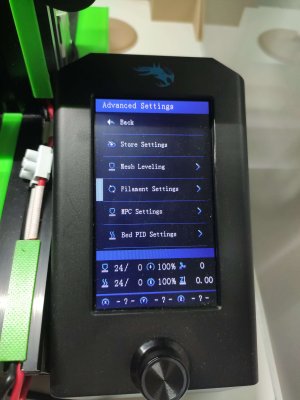
Do not forget to store your settings Advanced / Store Settings, or your adjustments are gone, when you restart your printer.
Hooray! You successfully installed a filament runout sensor to your Ender 3 V2.
